Sheet-Pan Chicken Thigh Meal Prep with Cauliflower Rice
The single-tray keto meal prep our test kitchen builds almost every Sunday: five glass containers of juicy, spice-crusted chicken thighs, deeply-charred broccoli, blistered cherry tomatoes, and buttery cauliflower rice. Forty minutes of hands-off oven time on Sunday buys you five weekday lunches under 6 g net carbs each — and they actually taste as good on Thursday as they do on Monday.
By Keto Kitchen Hub Editorial · Published July 20, 2026

- Prep
- 15 min
- Cook
- 35 min
- Total
- 50 min
- Servings
- 5
- Net Carbs
- 6 g
Instructions
- 1
Position two racks in the upper and lower thirds of the oven and preheat to 425°F (220°C). Line two rimmed sheet pans with parchment for easier cleanup.
- 2
Pat the chicken thighs completely dry with paper towel — this is the single most important step for a browned crust instead of a steamed one. In a large bowl, whisk 2 tbsp olive oil with the smoked paprika, garlic powder, onion powder, oregano, salt, pepper, and optional cayenne. Add chicken and toss until every thigh is coated. Let sit 10 minutes at room temperature while you prep the vegetables.
- 3
Toss the broccoli florets with 1 tbsp olive oil, a generous pinch of salt, and a few grinds of pepper on the first sheet pan. Spread in a single layer with room between pieces — crowded broccoli steams instead of chars.
- 4
Nestle the cherry tomatoes into any empty spaces on the broccoli pan. If they're on the vine, leave them attached for prettier meal prep containers.
- 5
Arrange the chicken thighs on the second sheet pan, smooth side up, with at least an inch of space between each. Overlapping thighs steam and never brown.
- 6
Roast both pans for 22–25 minutes, rotating between the racks halfway through, until chicken reads 165°F (74°C) at the thickest point and broccoli is deeply charred at the edges. Rest chicken 5 minutes before slicing or storing whole.
- 7
While the oven does its work, cook the cauliflower rice: melt butter in a large skillet over medium-high heat until foaming. Add frozen cauliflower rice in an even layer and DO NOT stir for 4 minutes — that undisturbed contact is what develops the toasty, nutty flavor. Stir once, spread again, cook another 3 minutes until any residual moisture has evaporated. Add minced garlic and lemon zest in the last 60 seconds; season with salt to taste.
- 8
Assemble five 3-cup glass containers: divide the cauliflower rice evenly (about ¾ cup each), then add 2 chicken thighs, a fat scoop of broccoli, and 3–4 tomatoes per container. Slide a lemon wedge into each and scatter with fresh parsley or thyme. Cool uncovered for 20 minutes before sealing lids — trapping steam is the fastest way to make everything soggy.
Nutrition (per serving)
- Calories
- 480
- Fat
- 30 g
- Protein
- 42 g
- Total Carbs
- 10 g
- Fiber
- 4 g
- Net Carbs
- 6 g
Values are estimates calculated from typical ingredient databases. See our disclaimer.
Storage
Refrigerate sealed containers up to 5 days. To reheat, remove the lemon wedge and any fresh herbs first, then microwave uncovered at 70% power for 2:30, stirring the cauliflower rice halfway. For crispier chicken, reheat in a 375°F air fryer for 4 minutes. Freezes well for up to 2 months — thaw overnight in the fridge before reheating; broccoli softens slightly but still holds shape.
Expert tips
- Bone-in, skin-on thighs are more flavorful if you have the time — increase cook time to 32–35 minutes and rest 10 minutes before storing.
- Cool everything to room temperature before sealing containers. Warm food traps steam, which is what turns great meal prep into sad, waterlogged meal prep by Wednesday.
- Salt the cauliflower rice at the very END, not the beginning. Early salt draws moisture out and steams the rice instead of toasting it.
- Rotate the vegetable base each week — asparagus, green beans, brussels sprouts halves, or zucchini all work with the same 22-minute roast. Swapping vegetables prevents 'meal prep fatigue' more than swapping proteins.
- For an even faster Sunday, roast the chicken and vegetables on parchment; toss the paper and skip washing the sheet pans entirely.
Frequently asked questions
+How many net carbs are in this whole meal prep?
About 6 g net carbs per container — roughly 4 g from the cauliflower rice and vegetables, 1 g from the tomatoes, and 1 g from aromatics. Five containers use only 30 g total net carbs across your entire work week of lunches.
+Will the chicken dry out by Friday?
Not if you follow two rules: use thighs (not breasts, which reheat poorly), and reheat at 70% power in the microwave instead of full blast. Thighs have enough intramuscular fat to survive 5 days without turning to sawdust.
+Can I use fresh cauliflower rice instead of frozen?
Yes, but squeeze it in a clean kitchen towel first to remove excess water. Fresh riced cauliflower holds twice as much moisture as frozen and will steam into mush if you skip this step. Reduce cook time by 2 minutes.
+Is this good for beginners?
It's the single best meal prep for keto beginners. Everything cooks on one tray + one skillet, portions are pre-measured, and macros land inside a standard 20 g net carb/day protocol with room to spare for breakfast and dinner.
+Can I make this dairy-free?
Swap the butter for ghee (well-tolerated by most dairy-sensitive people) or avocado oil. The cauliflower rice will be slightly less rich but the flavor profile stays intact.
+What's the best container for keto meal prep?
Rectangular glass containers with locking lids (Pyrex, Anchor Hocking, Prep Naturals) are our test-kitchen standard. They don't stain from turmeric or paprika, transfer to the microwave without leaching plastic, and freeze without cracking.
Everything you need to know
In-depth guide · reviewed by our editorial team · approx. 15 min read
Why Sheet-Pan Meal Prep Is the Backbone of Sustainable Keto
The single most reliable predictor of who succeeds on a ketogenic diet twelve months in is not willpower, not macronutrient knowledge, and not exogenous ketone supplements. It is whether that person has a repeatable Sunday routine that guarantees a keto-compliant lunch will be sitting in their fridge on Tuesday afternoon when hunger, stress, and the smell of a coworker's leftover pizza collide in the office kitchen. Meal prep is the load-bearing wall of long-term low-carb eating, and everything else is decoration.
This recipe is our test kitchen's answer to the meal-prep problem in its simplest possible form. One protein, one green vegetable, one accent vegetable, one starchy-feeling side, one sheet pan, one skillet, five containers, forty minutes of oven time you can spend folding laundry or answering email. It is not the most photogenic recipe on this site — that honor belongs to the raspberry cheesecake — but it is the recipe our staff cook more often than any other, and the one we recommend first to any reader who writes in asking where to start.
The reason is math. A person eating strict keto (under 20 g net carbs per day) has almost no room for accidents. A single sandwich blows the entire day's carb allowance. A convenience-store salad with candied pecans and dried cranberries can carry 30 g of net carbs without warning. When lunch is unplanned, the odds that lunch is compliant collapse. Meal prep removes lunch from the decision tree entirely. You made the choice on Sunday; Tuesday just executes it.
The Macros: How This Fits a Ketogenic Week
Each of the five containers delivers approximately 480 calories, 30 grams of fat, 42 grams of protein, 10 grams of total carbohydrate, 4 grams of fiber, and 6 grams of net carbohydrate. That works out to 56% of calories from fat, 35% from protein, and 5% from net carbs — a slightly higher protein ratio than pure ketogenic macros, which makes this template especially well suited to people combining keto with strength training or navigating the muscle-loss risk of a caloric deficit.
For someone on a 20 g net carb daily protocol, one container uses less than a third of the day's allowance and provides nearly a quarter of maintenance calories for an average adult. That leaves 14 g of net carbs and roughly 1,500 calories on the table for breakfast, dinner, snacks, and any coffee you enjoy with heavy cream. Over five workdays, this single meal prep contributes 150 g of protein — enough to fully saturate muscle protein synthesis at lunch five days in a row for anyone under 200 lb.
The 6 g of net carbs per container break down as approximately 2 g from the broccoli, 2 g from the cauliflower rice, 1 g from the cherry tomatoes, and 1 g from aromatics (garlic, onion powder, lemon zest). If you need to push lower — a therapeutic ketogenic protocol for epilepsy or oncology support runs closer to 10 g net carbs per day — halve the tomatoes and swap the broccoli for green beans or asparagus to shave the number to about 4 g per container.
The Protein: Why Boneless Skinless Thighs Win
Chicken breast is the default protein of the American fitness industry, and for a reason: it is lean, cheap, and simple to portion. It is also, unfortunately, the wrong protein for meal prep. Chicken breast is composed almost entirely of white muscle fiber with very little intramuscular fat. When you cook it Sunday and reheat it Wednesday, the moisture that was clinging to those fibers evaporates in the microwave and leaves behind sawdust. Every person who has quit meal prep after a month usually quit because they were reheating dry chicken breasts.
Chicken thighs are structurally different. Higher fat content — roughly 9 g fat per 100 g compared to 3 g for breast — means the meat stays juicy through repeated heating cycles. Higher collagen content means the texture actually improves overnight as the connective tissue softens. And because thighs are almost impossible to overcook, they forgive Sunday cooks who set a timer and then get distracted by a Netflix documentary.
Boneless skinless thighs are the meal-prep specific cut. Bone-in thighs have more flavor and better texture, but they take up more container space and add 8–10 minutes of oven time. Skin-on thighs deliver spectacular crackly skin fresh from the oven, but that same skin turns rubbery in the fridge and unpleasant in the microwave. Boneless skinless is the compromise cut: fast to cook, easy to portion, and forgiving of reheat. Save the bone-in skin-on birds for Friday-night dinners.
Look for thighs that are uniform in size — roughly 4 ounces each. If your package contains one giant thigh and three tiny ones, the giant will still be raw when the small ones are dry. Trim any large fat pads (they render out in the oven and pool on the pan), but leave the intramuscular marbling alone; that is what keeps Thursday's lunch edible.
The Vegetable Base: Broccoli, Charred Hard
Broccoli occupies a rare position in the keto pantheon: it is nutritionally dense, low-carb enough to eat freely, and cheap in every grocery store in the country. It is also incredibly easy to cook badly. Boiled or steamed broccoli is the vegetable version of a wet paper towel — waterlogged, sulfurous, and joyless. Roasted broccoli at 425°F is a different vegetable entirely: nutty, deeply browned at the edges, crisp at the florets, tender at the stems.
The technique is unglamorous. Cut the florets small (walnut-sized, not softball-sized), toss them with enough oil to coat every surface, and spread them on a sheet pan with visible space between pieces. Crowding is the enemy. Broccoli releases moisture as it heats; if pieces are touching, that moisture cannot escape and the vegetable steams instead of chars. If your sheet pan looks full, use two pans. If your oven only fits one, cook the broccoli in two batches or accept a paler, softer result.
The 22-minute roast time in this recipe is calibrated for florets cut small. Larger florets need 28 minutes and lose crispness by day three. Smaller florets brown faster but risk burning the tops before the stems soften. If your pieces are wildly uneven, cut the biggest ones down to match.
Cherry tomatoes tucked into the same pan blister and concentrate during the roast — they add jammy sweetness, color, and a pop of umami that keeps five identical containers from feeling monotonous. Grape tomatoes work identically. Larger tomatoes do not; they release too much water and turn the broccoli soggy.
The Cauliflower Rice: Toasting, Not Steaming
Buttery cauliflower rice is the underrated hero of every good keto meal prep. Made well, it is toasty, nutty, and provides the exact starchy-feeling surface that keto plates otherwise lack. Made badly, it is watery, sulfurous, and reminiscent of overcooked vegetables in a school cafeteria.
The single variable that decides which version you end up with is moisture management. Fresh cauliflower rice, straight from the food processor or the produce section, contains roughly twice the water of frozen. Frozen cauliflower rice has been blanched and shocked at the factory, which bursts cell walls and releases water before it ever hits your pan. This is the rare case where frozen is genuinely better than fresh for texture. If you must use fresh, spread it on a clean kitchen towel and squeeze hard for 30 seconds before it touches heat.
Heat management is the second variable. Medium-high, not high. Butter foaming but not browning when the rice hits. Spread in a single even layer, and — this is the part everyone gets wrong — do not stir for four full minutes. Undisturbed contact with the hot pan is what develops the Maillard-driven toasted flavor that makes cauliflower rice taste like something you actually want to eat. Stirring too soon interrupts the browning and dumps unevaporated water into the pan.
Salt goes on at the end, not the beginning. Salt draws moisture out of vegetables through osmosis; salting early guarantees a wet, steamed rice instead of a toasty, browned one. Add salt after the four-minute browning phase, taste, adjust, and finish with garlic and lemon zest in the last 60 seconds — any earlier and the garlic burns.
The Spice Blend: Why This Exact Combination
The seasoning mix here — smoked paprika, garlic powder, onion powder, oregano, salt, pepper, and optional cayenne — is a deliberate compromise between complexity and pantry pragmatism. Every spice on the list belongs in a functioning kitchen, none require a specialty store, and the combination reads as vaguely Mediterranean without committing to any single cuisine. That neutrality matters for meal prep: eating a bowl that tastes aggressively Moroccan on Monday will feel oppressive by Thursday. A more restrained profile fatigues the palate less.
Smoked paprika (pimentón de la Vera is the gold standard) is the load-bearing spice. It contributes color, sweetness, and — critically — a smoky note that mimics the char of an outdoor grill on chicken cooked in a standard indoor oven. Two teaspoons is enough to be present; four is enough to feel like a cured Spanish sausage. Regular sweet paprika is a legitimate substitute but you will miss the smoke.
Garlic powder and onion powder do the work fresh garlic and onion cannot in a make-ahead application. Fresh aromatics turn bitter after 48 hours in the fridge and burn to acrid black flecks on a 425°F pan. Dried versions release flavor slowly through the reheat cycle without deteriorating. Buy the granulated versions rather than fine powders — they distribute more evenly on chicken and do not clump when they hit moisture.
The optional cayenne is a matter of taste. A quarter teaspoon is barely detectable but noticeably lifts the other spices; a half teaspoon crosses into 'I can taste heat.' If you cook for children or heat-sensitive family members, leave it out entirely. If you love spice, double it and finish each container with a drizzle of chili crisp oil before sealing.
Container Strategy: Glass, Not Plastic
The container matters more than most meal-prep guides admit. Cheap plastic containers stain permanently from turmeric and paprika, absorb odors that never fully wash out, leach compounds when microwaved, and warp in the dishwasher within a month. Every dollar spent on decent glass containers is repaid in a year of not replacing plastic ones.
Rectangular tempered-glass containers with silicone-sealed locking lids are the test-kitchen standard. Pyrex, Anchor Hocking, Prep Naturals, and Snapware all sell versions in the 3-cup size that fits this recipe exactly. Rectangular shapes stack better in the fridge than round ones and portion food more evenly. Locking lids prevent the tragedy of a spilled lunch inside a work bag.
The lid material is where corners get cut. All-plastic lids crack within months and rarely seal well after the first year. Silicone-gasketed plastic lids are the sweet spot: they last, they seal, and they replace individually if lost. Fully glass lids exist but are heavy, easy to chip, and no better at sealing.
One counterintuitive rule: do not seal warm food. Trapping steam inside a container is the single fastest way to soggify a beautiful meal prep. Cool everything on the counter, uncovered, for 20 minutes before locking the lids. Room-temperature food refrigerates faster than warm food anyway — steam trapped under a lid holds heat and slows the cool-down.
Storage, Reheating, and the 5-Day Rule
USDA guidance for cooked poultry stored at 40°F or below is 3–4 days. That guidance is conservative and built for the lowest common denominator of home refrigerators, many of which run 5–8°F warmer than they claim. A fridge held at a true 35–37°F will safely store this meal prep for 5 days; a fridge running warm should be treated as a 4-day limit. If your fridge does not have a built-in thermometer, a $6 refrigerator thermometer from a hardware store is the single best kitchen upgrade you can make.
Reheating is where most meal prep fails aesthetically even when it succeeds nutritionally. Microwaving at full power for three minutes turns chicken thighs into leather and cauliflower rice into paste. The fix is 70% power for a longer time. At 70%, the microwave cycles on and off, giving heat time to distribute through dense food without cooking the exterior further. Two minutes 30 seconds at 70% produces a container that tastes freshly cooked; two minutes at 100% produces something visibly deteriorated.
For the best possible reheat, split the difference: microwave the cauliflower rice and vegetables in the container for two minutes at 70% power, then transfer the chicken thighs to a 375°F air fryer for four minutes. The air fryer re-crisps the exterior of the chicken while leaving the interior juicy — it turns Thursday lunch into a plate indistinguishable from Sunday dinner.
Freezing extends the timeline dramatically. Sealed glass containers move directly from freezer to fridge Wednesday night for a Friday lunch, or fridge to microwave for a same-day thaw-and-reheat. Broccoli softens slightly after freezing but holds shape and flavor for up to two months. Beyond two months, freezer burn becomes noticeable regardless of container quality.
Meal-Prep Fatigue: Why Rotation Matters More Than Recipes
The most common meal-prep failure mode is not spoilage, not macro drift, not container failure. It is boredom. Eating identical containers for five consecutive days is tolerable. Eating them for three consecutive weeks is not, no matter how good the original recipe was. Your brain wires the meal to the office, the office to grief, and by week four you have quit meal prep and are back to a gas-station roller-dog lunch.
The fix is systemic rotation. Keep the format constant — one protein, one green, one accent, one starchy side — but swap components weekly. This recipe uses chicken thighs, broccoli, cherry tomatoes, and cauliflower rice. Next week use salmon, asparagus, roasted red pepper, and mashed cauliflower. The week after: ground turkey meatballs, brussels sprouts halves, sun-dried tomato, and shirataki noodles. The workflow is identical; the plate is fresh.
Small rotations matter more than big ones. Changing the seasoning blend from Mediterranean (this recipe) to Cajun (paprika, thyme, cayenne, garlic) to za'atar (sumac, sesame, thyme) to jerk (allspice, thyme, scotch bonnet) gives four meal preps that feel completely different from the same protein-vegetable-starch template. Buy four small spice blends instead of four whole new recipes.
Accent ingredients — fresh herbs, lemon wedges, a drizzle of good olive oil at reheat time, a spoonful of pesto stashed separately — do disproportionate work for how little they cost. A container of pre-cooked chicken and vegetables becomes lunch when you finish it with something bright, cold, and fresh right before eating. Building those accents into your weekly grocery list is worth more than any single recipe.
Common Mistakes
Not drying the chicken. Wet chicken steams; dry chicken browns. Ten seconds with a paper towel is the difference between five containers you look forward to and five containers you dread.
Overcrowding the sheet pans. If broccoli florets are touching, they steam. If chicken thighs overlap, they steam. Use two pans, cook in batches, or accept a paler result — but do not pretend crowding does not matter, because it always does.
Salting the cauliflower rice at the start. Salt draws water, water steams, steam wrecks browning. Salt at the end, taste, adjust. This one rule fixes 90% of bad cauliflower rice.
Sealing containers while warm. Trapped steam soggifies everything. Twenty minutes of counter cooling before locking lids is not optional.
Skipping the parchment. Chicken juices bake onto naked sheet pans and require serious scrubbing. Parchment paper turns cleanup into a single garbage-can dunk and costs three cents per meal prep.
Using breast instead of thigh. Reheated breast is dry. Reheated thigh is juicy. Do not fight the science.
Frequently Asked Questions
Can I use this template on carnivore or animal-based diets? Yes — drop the cauliflower rice and double the chicken thighs per container. Nothing else changes. You end up at 3 g net carbs per container from the broccoli and tomatoes, or drop those too for a truly zero-carb version.
How does this compare to store-bought keto meal delivery services? Ballpark: this recipe costs $4.50 per container in most US grocery stores; keto meal delivery services average $12–15 per container. Even accounting for your time, homemade meal prep saves roughly $200 per month per person and gives you total control over ingredient quality.
Is it safe to eat cold chicken from a meal-prep container? Yes, provided the container was cooled properly and refrigerated within two hours of cooking. Cold roasted chicken is a legitimate lunch — many test-kitchen staff eat these containers cold at their desks and skip the reheat step entirely.
What if my macros are different from what the recipe lists? Weigh your ingredients, plug them into a tracker like Chronometer or Cronometer, and recalculate. Chicken thighs vary from 4–6 oz each; broccoli florets vary in density; even 'a tablespoon of olive oil' varies. If precision matters (therapeutic keto), weigh; if you're just trying to eat under 20 g net carbs a day, the estimates on this page are close enough.
Can I meal-prep breakfast and dinner at the same time as this lunch? Absolutely. Egg muffins bake at 350°F for 20 minutes in the same oven while the chicken rests — see our egg muffin recipe elsewhere on the site. Sunday-morning batch cooking that produces breakfast, lunch, and one dinner takes about 90 minutes total and eliminates 15 weekday decisions.
References
USDA cooked poultry storage guidance from FoodSafety.gov (updated 2024). Maillard reaction temperature ranges from Harold McGee, On Food and Cooking (2nd ed, 2004). Muscle protein synthesis and leucine-threshold data from the International Society of Sports Nutrition position stand on protein intake (Journal of the International Society of Sports Nutrition, 2018).
This is general nutrition information, not medical advice. Consult your healthcare provider before starting a ketogenic diet, especially if you are pregnant, breastfeeding, taking blood-sugar or blood-pressure medication, or managing kidney disease.
Related recipes
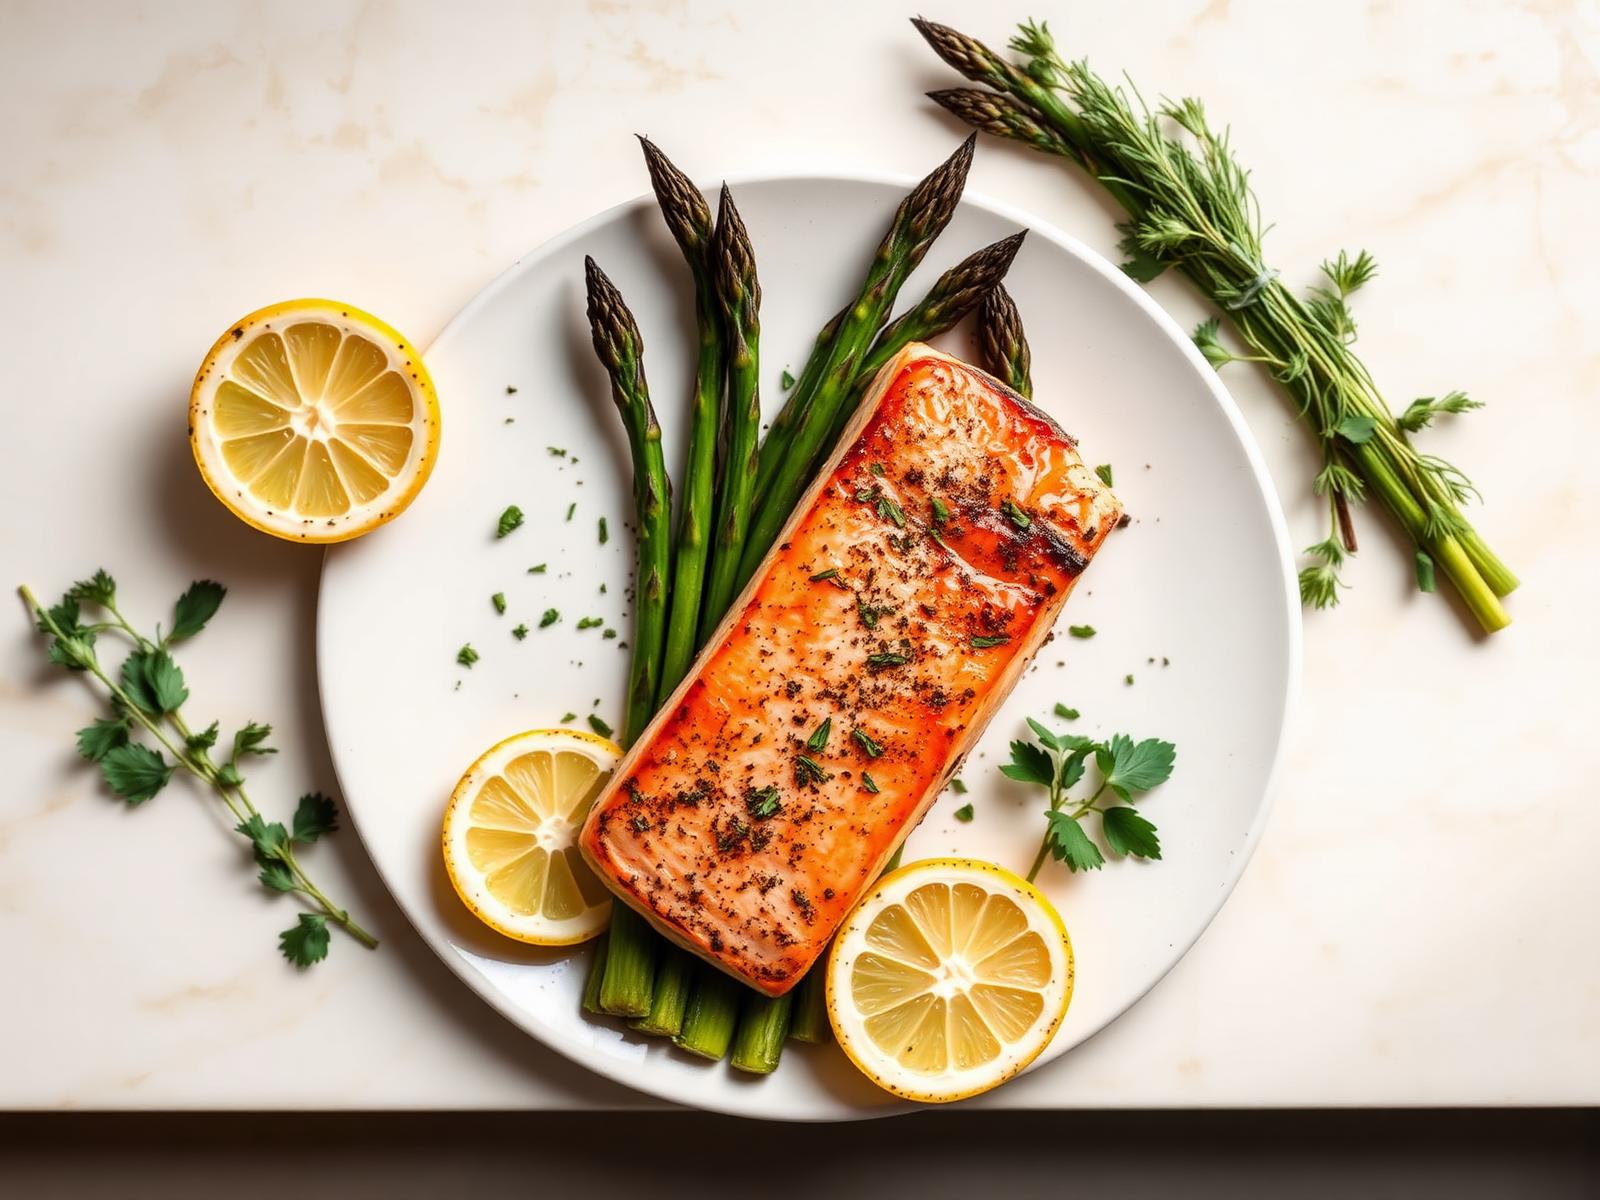
Pan-Seared Salmon with Lemon Asparagus
A restaurant-quality keto dinner that comes together in a single skillet in under 25 minutes. Crispy-skinned wild salmon, bright lemon, and tender roasted asparagus deliver a full plate of protein and heart-healthy fats with just 4 g net carbs.
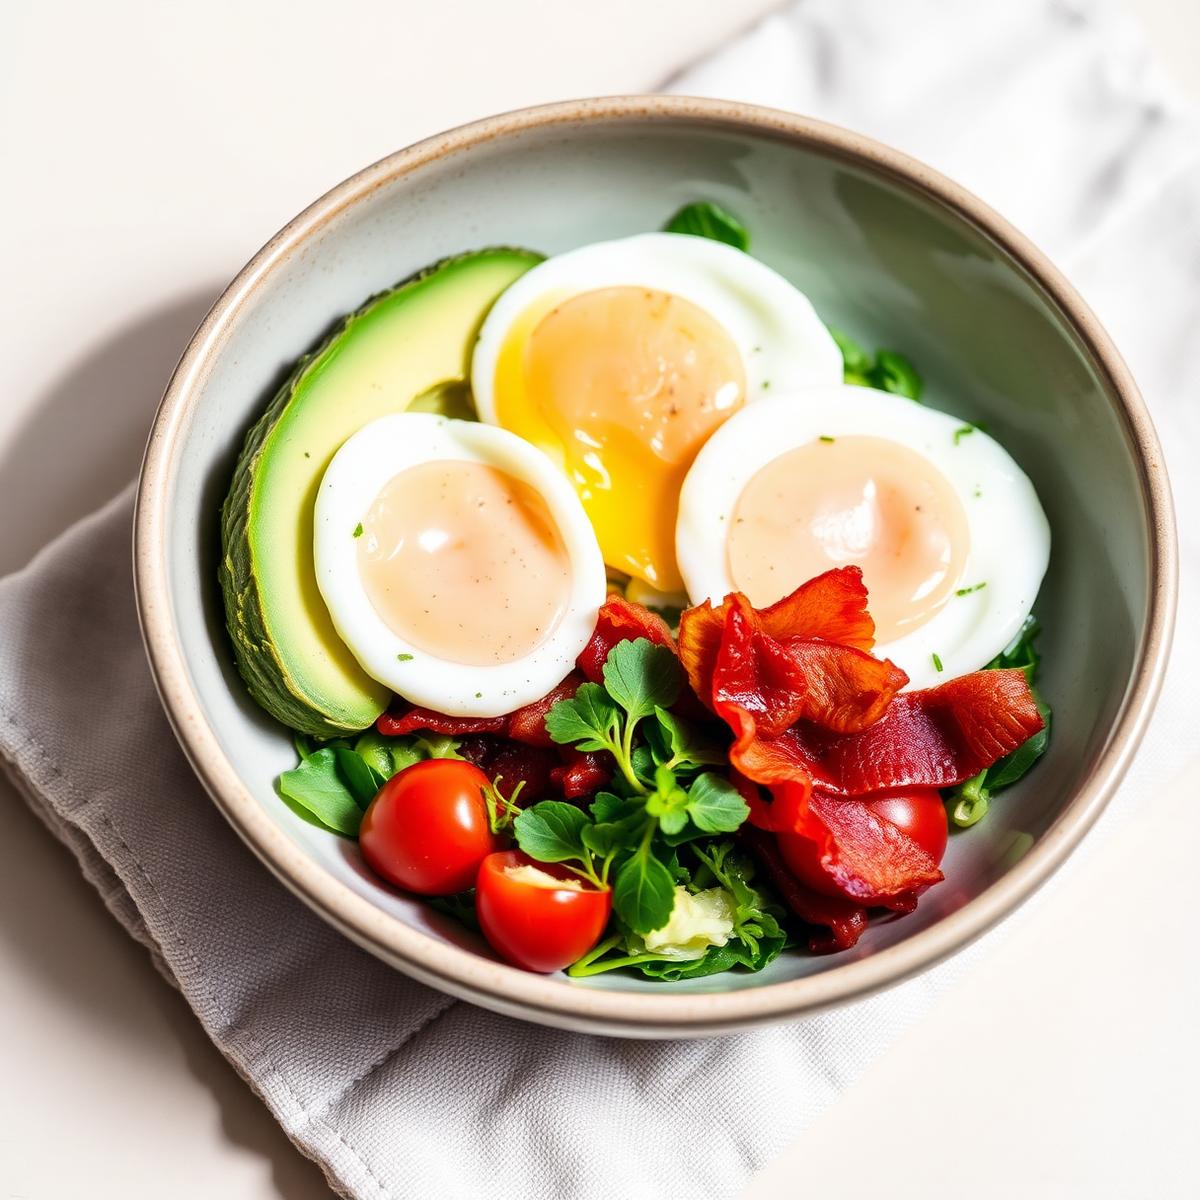
Avocado Breakfast Bowl with Soft-Boiled Eggs
A vibrant morning bowl that combines creamy avocado, jammy soft-boiled eggs, and crisp bacon for a keto breakfast that keeps you full for hours. Perfect for busy weekdays — most of it can be prepped ahead.
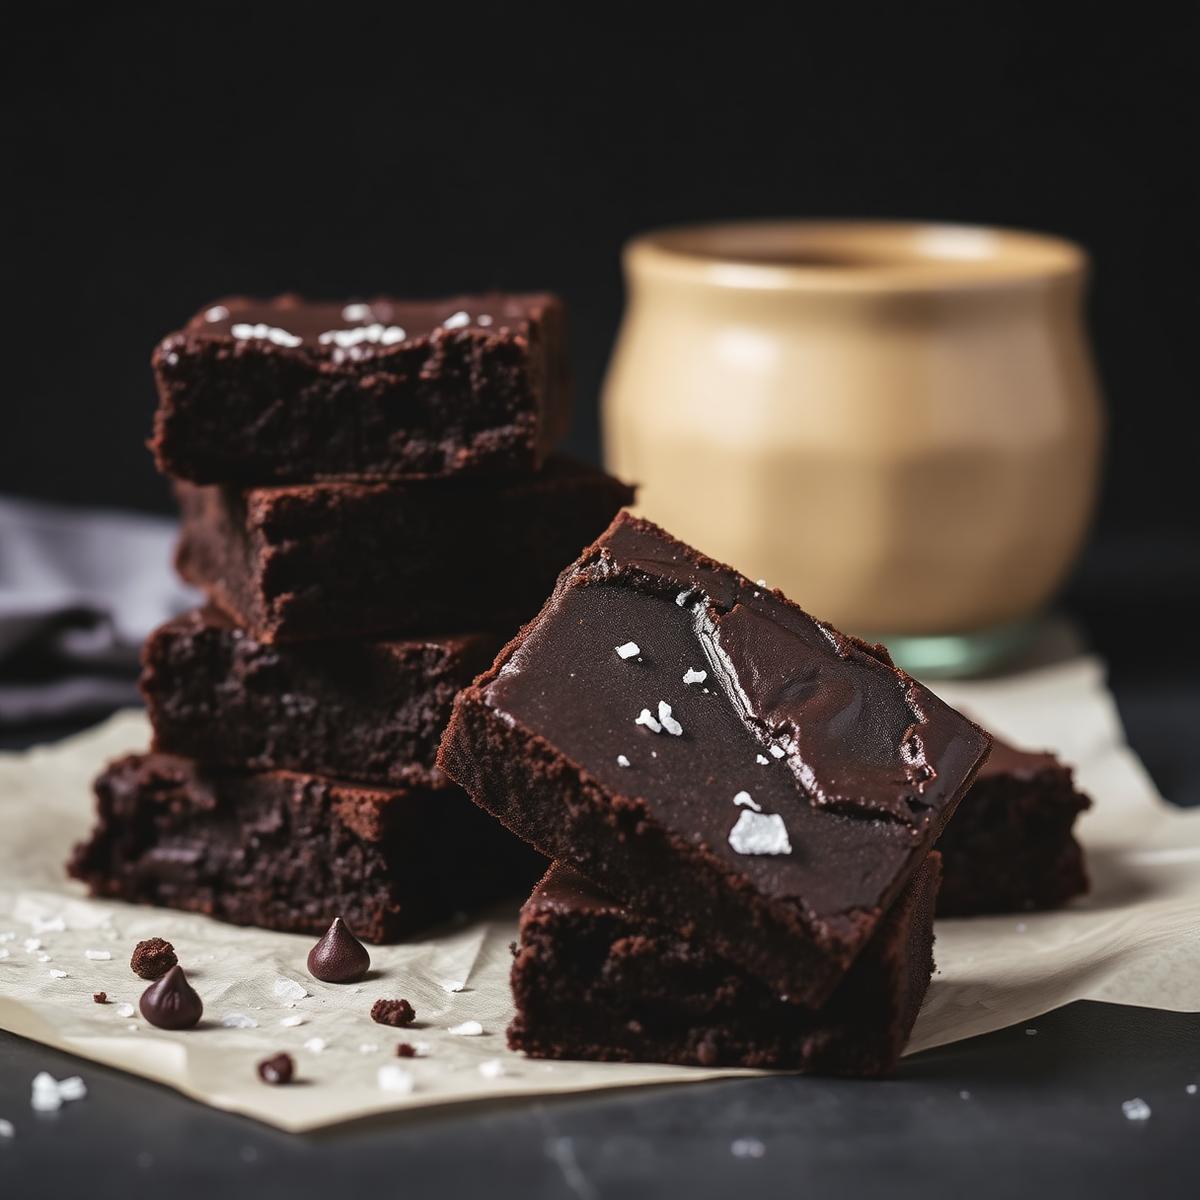
Fudgy Almond-Flour Chocolate Brownies
The keto brownie recipe our test kitchen makes on repeat. Rich, fudgy, and deeply chocolatey — with a shiny crackly top and only 2 g net carbs per square. No one will guess they're sugar-free and grain-free.