30-Minute Keto Thai Red Curry Shrimp
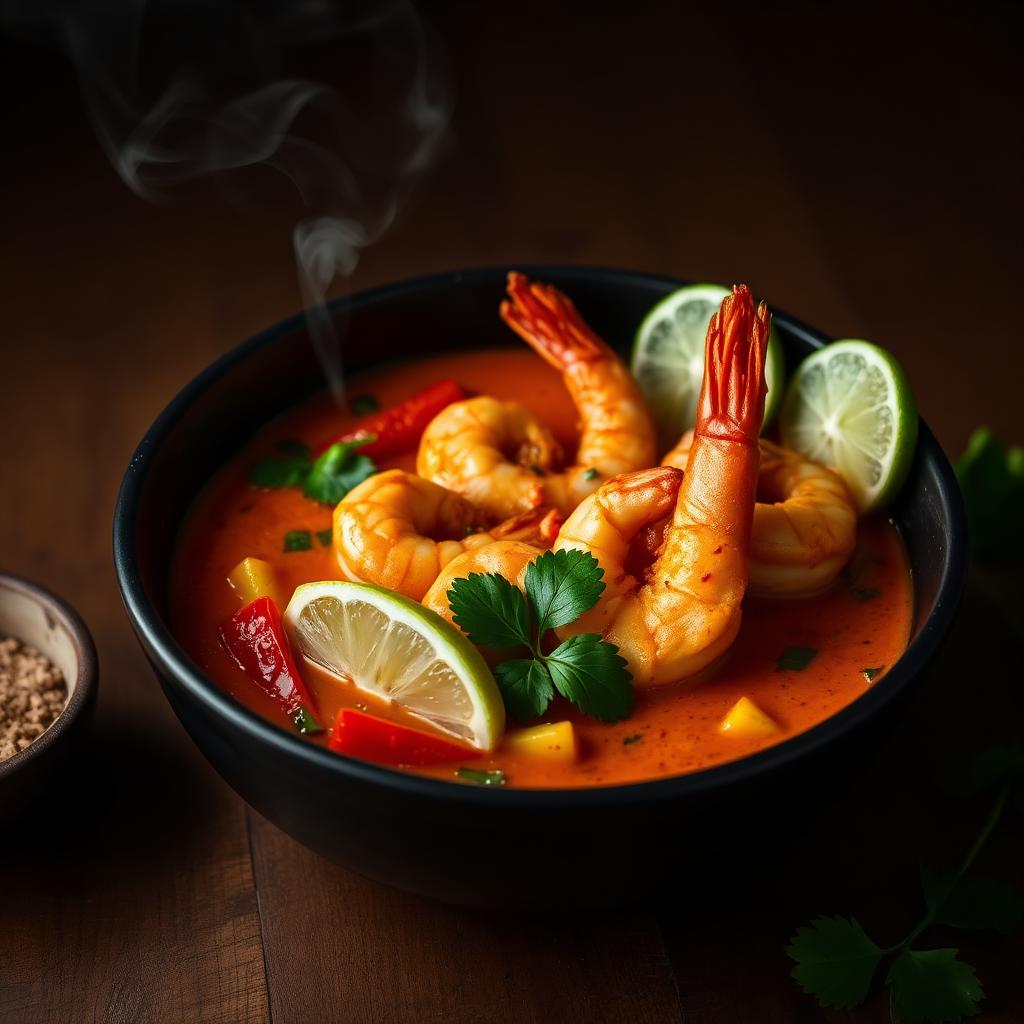
A fragrant, chili-warm Thai red curry that trades sugar and rice for zero-carb shirataki and clean full-fat coconut milk. Plump shrimp, sweet peppers, and Thai basil come together in one pot in 30 minutes — 8 g net carbs of pure comfort with layers of authentic flavor.
By Keto Kitchen Hub Editorial · Published July 16, 2026
- Prep
- 10 min
- Cook
- 20 min
- Total
- 30 min
- Servings
- 4
- Net Carbs
- 8 g
Instructions
- 1
Pat shrimp completely dry and season lightly with salt. Wet shrimp will not sear.
- 2
Heat oil in a large deep skillet or wok over medium-high heat. Add curry paste and fry for 60 seconds, stirring constantly, until deeply aromatic and slightly darker — this 'blooming' step is what separates good Thai curry from great Thai curry.
- 3
Add onion, garlic, and ginger; cook 2 minutes until fragrant.
- 4
Pour in coconut milk, scraping the pan to dissolve the paste. Bring to a gentle simmer — do not boil hard, or the coconut milk will split.
- 5
Add bell pepper and green beans. Simmer 5 minutes until vegetables are crisp-tender.
- 6
Slide in the shrimp in a single layer. Cook 2–3 minutes, flipping once, until pink and just opaque — do not overcook or they turn rubbery.
- 7
Off heat, stir in fish sauce, lime juice, and optional sweetener. Taste and adjust — you want the classic Thai balance of salty, sour, spicy, and just barely sweet. Fold in Thai basil.
- 8
Serve over cauliflower rice or shirataki noodles with cilantro, sliced chili, and a fat lime wedge.
Nutrition (per serving)
- Calories
- 425
- Fat
- 28 g
- Protein
- 32 g
- Total Carbs
- 12 g
- Fiber
- 4 g
- Net Carbs
- 8 g
Values are estimates calculated from typical ingredient databases. See our disclaimer.
Storage
Refrigerate in an airtight container up to 3 days. Reheat gently on the stovetop over low heat — microwaving overcooks the shrimp. Freezing not recommended: coconut milk separates and shrimp texture suffers.
Expert tips
- Curry paste brand matters. Maesri is the gold standard for authenticity and heat balance. Thai Kitchen is milder and sweeter.
- Never boil coconut milk hard — it breaks the emulsion into oily curds. A lazy simmer is your friend.
- For a richer curry, use the thick cream that floats on top of unshaken canned coconut milk to bloom the paste, then add the thin milk.
Frequently asked questions
+Is Thai red curry paste keto?
Yes — quality brands contain 1–2 g carbs per tablespoon from chilies and aromatics. Avoid brands with added sugar or thickeners on the label.
+Can I use chicken instead of shrimp?
Yes. Use 1.5 lb sliced boneless thighs; cook 6–8 minutes after adding to the sauce, until 165°F. Total time increases by about 5 minutes.
+What can I sub for fish sauce?
Coconut aminos plus a pinch of salt gets close, though it lacks the deep umami funk. Fish sauce is what makes Thai food taste Thai — track down a bottle if you can.
+How many net carbs in coconut milk?
Full-fat canned coconut milk has about 2 g net carbs per ¼ cup. Skip 'lite' versions and boxed drinks — those are watered down and often sweetened.
Everything you need to know
In-depth guide · reviewed by our editorial team · approx. 15 min read
Real Thai Curry, No Rice Required
Authentic Thai red curry is one of the world's most naturally keto-friendly dishes. Its foundation — coconut milk, chilies, aromatics, fish sauce, and lime — is almost entirely fat and protein with negligible carbohydrate. The only reason Thai food gets a bad rap in low-carb circles is because Americanized Thai restaurants serve everything over jasmine rice or noodles and load curries with palm sugar to hit Western sweetness expectations.
Strip out the rice, skip the sugar, and you have a curry that tastes more like what people actually eat in Bangkok — brighter, spicier, more balanced — while sitting comfortably at 8 g net carbs per serving. This recipe uses shrimp for its quick cook time and dramatic protein-to-fat ratio, but the technique works with chicken thighs, salmon, tofu, or even sliced beef.
The version below is what a home cook in Chiang Mai might make on a weeknight: 30 minutes from cutting board to bowl, one pan, and depth of flavor that comes from technique rather than long simmering. The two most important techniques — blooming the curry paste and never boiling the coconut milk — are borrowed directly from traditional Thai cooking.
Choosing the Right Curry Paste
Curry paste is the single ingredient that decides whether your curry tastes Thai or tastes like Thai-food-by-way-of-a-suburban-supermarket. There are dozens of brands available, and quality varies dramatically.
Maesri (in the small green can) is the gold standard for home cooks. It's what most Thai cookbooks and chefs recommend. It has serious heat, deep aromatic complexity from galangal and kaffir lime, and no sugar or thickeners. A single 4 oz can is enough for two full recipes.
Mae Ploy is a solid runner-up — slightly less spicy than Maesri, slightly more balanced, and sold in larger tubs. Also excellent.
Thai Kitchen (widely available in American supermarkets) is milder, sweeter, and less aromatic than the two above. It works in a pinch but produces a curry that leans toward American palate expectations. If it's your only option, add a splash of fish sauce and a pinch of red pepper flakes to boost the flavor.
Avoid any paste that lists sugar, flour, or 'natural flavors' high on the ingredient label. Real Thai curry paste contains only chilies, aromatics (lemongrass, galangal, kaffir lime), garlic, shallots, salt, and sometimes shrimp paste. That's it.
Make sure to store opened cans by transferring the contents to a small glass jar with a splash of neutral oil on top to seal — the paste keeps for two months refrigerated this way.
The Coconut Milk Question
Full-fat canned coconut milk (not lite, not boxed drinking milk) is the base of the sauce. The ideal coconut milk has two visible layers when you shake the unopened can — a thick creamy top and a thinner watery bottom. That separation indicates a coconut-rich, low-thickener product.
Chaokoh (in the yellow can) is the traditional Thai brand and remains one of the best options. Aroy-D (in the cardboard box or can) is also excellent and typically the highest fat content available. Native Forest and 365 (Whole Foods brand) are solid non-Thai alternatives.
Avoid any coconut milk with gums (guar gum, xanthan gum) or emulsifiers high on the ingredient label. Some thickener is fine, but a coconut milk that's mostly gums won't split properly when you bloom the curry paste, which prevents the sauce from developing depth.
For an extra-rich curry, do not shake the can before opening. Scoop out just the thick top layer (about half the can) and use it to bloom the paste. Add the thinner liquid later. This 'cracking' technique concentrates the coconut fat at the start of cooking and produces a visibly richer sauce.
The Blooming Step
Fry the curry paste in oil for a full minute before anything else goes into the pan. This 'blooming' step is what unlocks the aromatic compounds in the paste — chili capsaicin, galangal essential oils, kaffir lime volatiles — that are otherwise trapped in the paste's fibrous matrix.
You know the paste is properly bloomed when: the color deepens by two or three shades, the kitchen smells overwhelmingly of curry rather than just spice, and the oil separates and pools around the edges of the paste. This takes 60-90 seconds over medium-high heat. Under-blooming produces a curry that tastes flat and one-dimensional; over-blooming (past two minutes) burns the aromatics and makes the curry bitter.
For the deepest flavor, bloom the paste in the thick coconut cream (see above) rather than plain oil. The fat in coconut cream is the ideal solvent for the aromatic compounds, and the result is a sauce with dramatically more depth than one built on oil alone.
Shrimp: Sizing, Freshness, and Cook Time
Large shrimp (26-30 count per pound) are ideal for this curry — big enough to be substantial in the bowl, small enough to cook through in 2-3 minutes. Jumbo shrimp (16-20 count) require closer to 4 minutes and are prone to overcooking. Salad shrimp (61-70 count) turn to mush in the sauce.
Frozen shrimp are perfectly acceptable and often fresher than 'fresh' shrimp at the fish counter, most of which was previously frozen and thawed for display. Buy IQF (individually quick frozen), peeled and deveined, tails on or off depending on your preference. Thaw overnight in the refrigerator or under cold running water for 15 minutes.
Pat the thawed shrimp completely dry with paper towels before adding to the sauce. Wet shrimp release water that dilutes the curry and prevents any browning. Season them lightly with salt while patting dry — this improves texture.
Shrimp are done at 145°F internal temperature, which corresponds to fully opaque flesh and a curled 'C' shape. Overcooked shrimp (above 155°F) turn tight, rubbery, and dry. Since shrimp cook so quickly, err on the side of pulling them slightly early — residual heat from the sauce will finish cooking.
Balancing Salt, Sour, Spicy, and Sweet
Thai cooking is built on the balance of four flavors: salty (fish sauce, shrimp paste, salt), sour (lime, tamarind), spicy (chilies, curry paste), and sweet (palm sugar, coconut sugar). Traditional recipes calibrate all four; a well-balanced curry hits all four flavors on the tongue in a single bite.
In a ketogenic version, we replace palm sugar with allulose or monk fruit. Just one teaspoon is enough — Thai food is not sweet in the way American Chinese food is sweet. The sweetness is meant to soften the sharp edges of chili and fish sauce, not to dominate the dish.
Fish sauce is where the salty depth comes from, and quality matters enormously. Red Boat (40°N version) is the gold standard — three ingredients (anchovies, sea salt, water) and no additives. Three Crabs is a common second choice. Avoid any brand that lists hydrolyzed vegetable protein or MSG separately (real fish sauce contains natural MSG from anchovy fermentation, but shouldn't need added).
Lime juice is the sour element and must be fresh — bottled lime juice tastes flat and metallic in the finished curry. One tablespoon per serving is standard. Add the lime juice off the heat at the very end; cooking lime juice destroys its bright top notes.
Taste as you go. Add fish sauce for salt, lime for sour, extra curry paste or a sliced chili for heat, and a pinch of sweetener for balance. The finished curry should make your mouth water and leave a slight tingle from the heat.
Serving Vessels: The Rice Replacement
Cauliflower rice is the default keto substitute for jasmine rice and works well here, though it lacks the fluffy sponginess that makes Thai rice so effective at soaking up curry sauce. To improve it, sauté cauliflower rice with a knob of butter until slightly toasted, then finish with a squeeze of lime and fresh cilantro.
Shirataki rice ('miracle rice') is another option — zero net carbs, more neutral flavor than shirataki noodles, and holds up better in curry. Rinse under hot water for two full minutes to remove the konjac odor, then dry-toast in a pan for four minutes before serving.
For a heartier bowl, skip the rice entirely and pile the curry over a bed of sautéed baby bok choy or blanched Chinese broccoli. The bitter greens balance the richness of coconut milk beautifully.
For a lighter approach, serve as a soup with no rice at all. This is closer to how Thais eat curry outside the tourist areas — as a rich, spoonable stew rather than a rice topping.
Variations
Green curry: Replace red curry paste with green curry paste. Add 1 cup Thai eggplant (small round green eggplants, quartered) and 2 tbsp fresh basil. Green curry is spicier than red — start with 2 tbsp of paste and taste before adding more.
Yellow curry: Replace red curry paste with yellow curry paste. Add 1 cup cauliflower florets in place of green beans. Yellow curry is milder and slightly sweeter — great for kids or first-time Thai curry eaters.
Massaman: Replace red curry paste with massaman curry paste. Add ¼ cup roasted peanuts and 1 cinnamon stick. Simmer 10 minutes longer for the flavors to develop. Traditionally made with beef, but works with chicken thighs.
Panang: Replace red curry paste with panang curry paste. Use half the coconut milk called for and add 2 tbsp natural peanut butter for a thicker, richer sauce. Excellent with beef or duck.
For chicken instead of shrimp: use 1.5 lb sliced boneless thighs. Simmer in the sauce for 6-8 minutes until cooked through (165°F internal). Total time increases by about 5 minutes.
Macros and Meal Planning
Per serving (without cauliflower rice base): 425 calories, 28 g fat, 32 g protein, 8 g net carbs. With ½ cup cauliflower rice: add 15 calories and 2 g net carbs. With ½ cup toasted cauliflower rice and 1 tbsp coconut oil: add 135 calories and 2 g net carbs.
The 8 g net carbs come from bell pepper (2 g), green beans (2 g), curry paste (1 g), coconut milk (2 g), and onion/garlic (1 g). For a stricter version at 5 g net carbs, skip the bell pepper and green beans in favor of ½ cup sliced zucchini and 1 cup baby spinach added at the end.
The fat-to-protein ratio (28:32) is more protein-forward than pure ketogenic macros. This makes it excellent for post-workout meals or for people who find they need more protein than the standard 20% recommendation to feel satisfied.
For meal prep, portion into single-serving glass containers with ½ cup cauliflower rice on one side. Refrigerate up to three days. Reheat gently on the stovetop; microwaving overcooks the shrimp.
Troubleshooting
Sauce broken and oily: coconut milk boiled instead of simmered. Fix by whisking in 2 tbsp fresh coconut cream or 1 tsp lecithin (available in health food stores) to re-emulsify.
Curry too spicy: add 2 tbsp of full-fat coconut cream and a squeeze of extra lime. Serve with a spoonful of full-fat yogurt or sour cream on top if you're not strictly Thai about it.
Curry not spicy enough: add sliced fresh Thai chili or ½ tsp additional curry paste. Let it simmer for 60 seconds to bloom before serving.
Curry tastes flat: it needs more salt (add fish sauce a teaspoon at a time) or more acid (add lime juice ½ tbsp at a time). Sometimes both.
Shrimp rubbery: overcooked. Next time, remove from heat the moment they turn opaque and let residual heat finish cooking.
References
Traditional Thai curry technique from David Thompson's Thai Food (2002). Coconut milk composition data from USDA FoodData Central. Fish sauce fermentation science from the Journal of Food Science (2018 review).
This article is not medical advice. Some people with shellfish allergies react to shrimp; substitute chicken if you have any doubt.
Related recipes
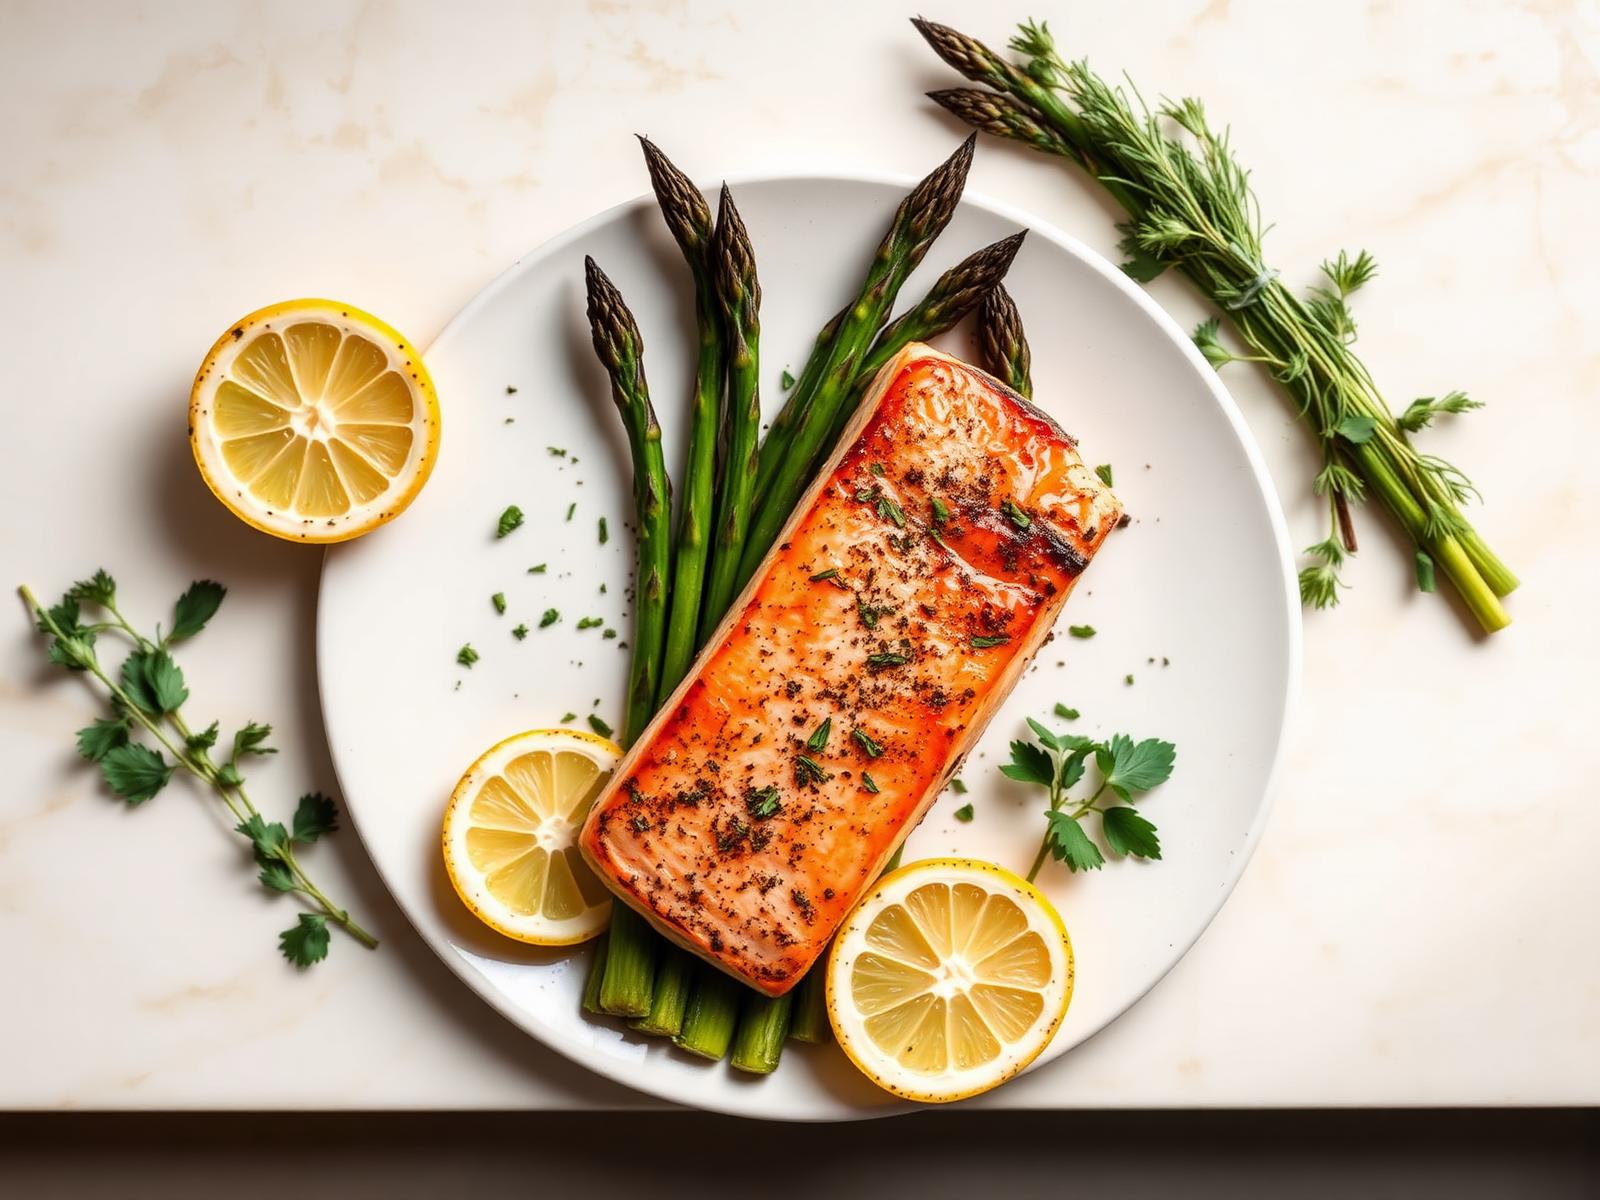
Pan-Seared Salmon with Lemon Asparagus
A restaurant-quality keto dinner that comes together in a single skillet in under 25 minutes. Crispy-skinned wild salmon, bright lemon, and tender roasted asparagus deliver a full plate of protein and heart-healthy fats with just 4 g net carbs.
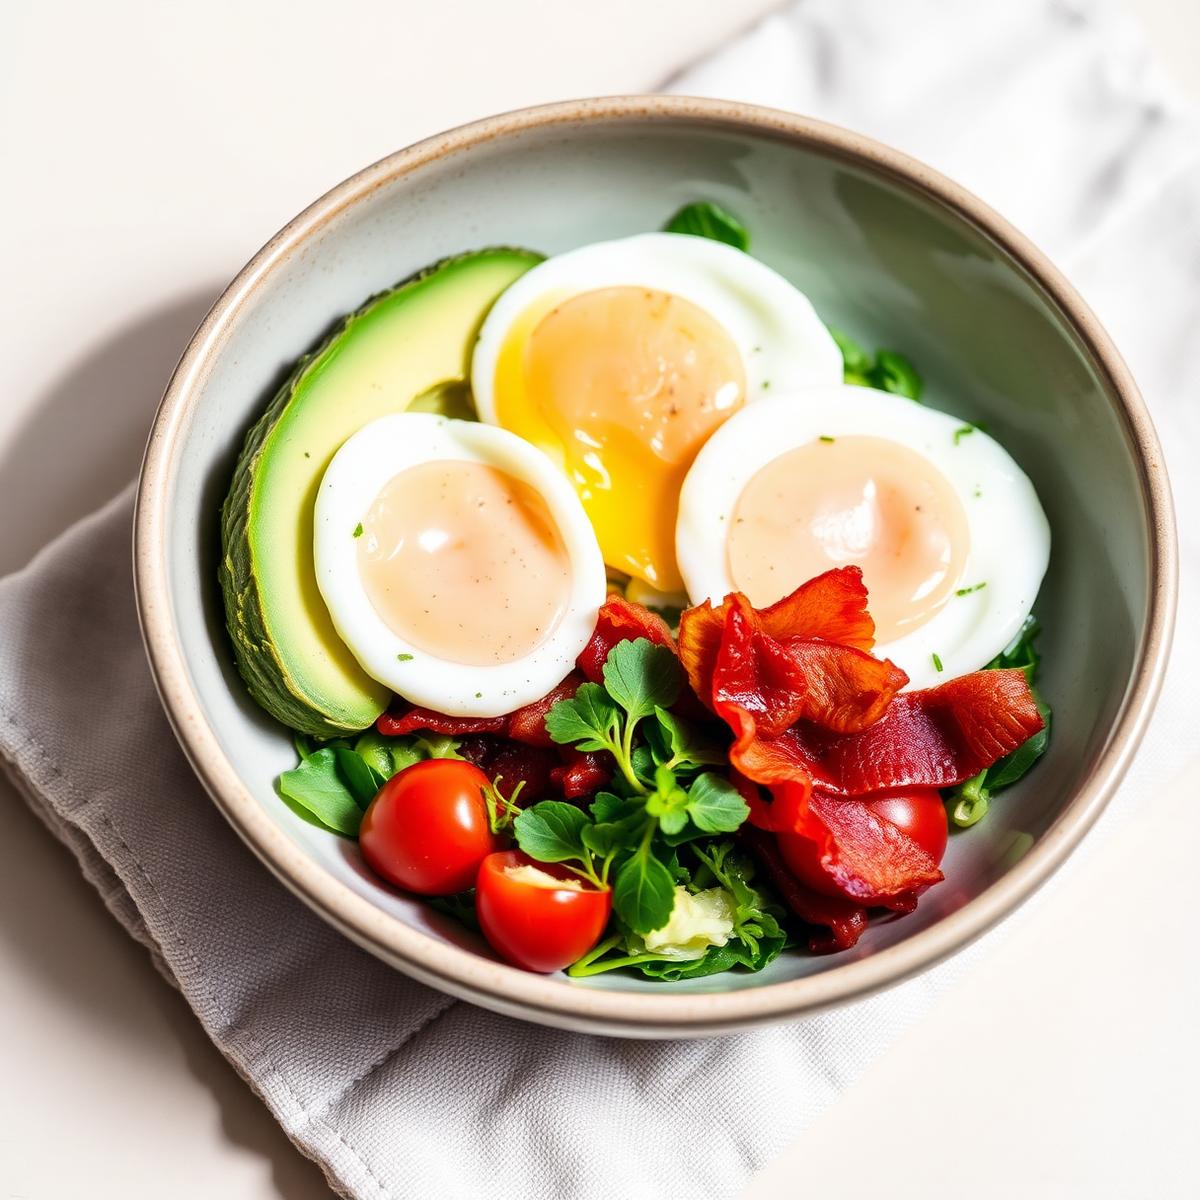
Avocado Breakfast Bowl with Soft-Boiled Eggs
A vibrant morning bowl that combines creamy avocado, jammy soft-boiled eggs, and crisp bacon for a keto breakfast that keeps you full for hours. Perfect for busy weekdays — most of it can be prepped ahead.
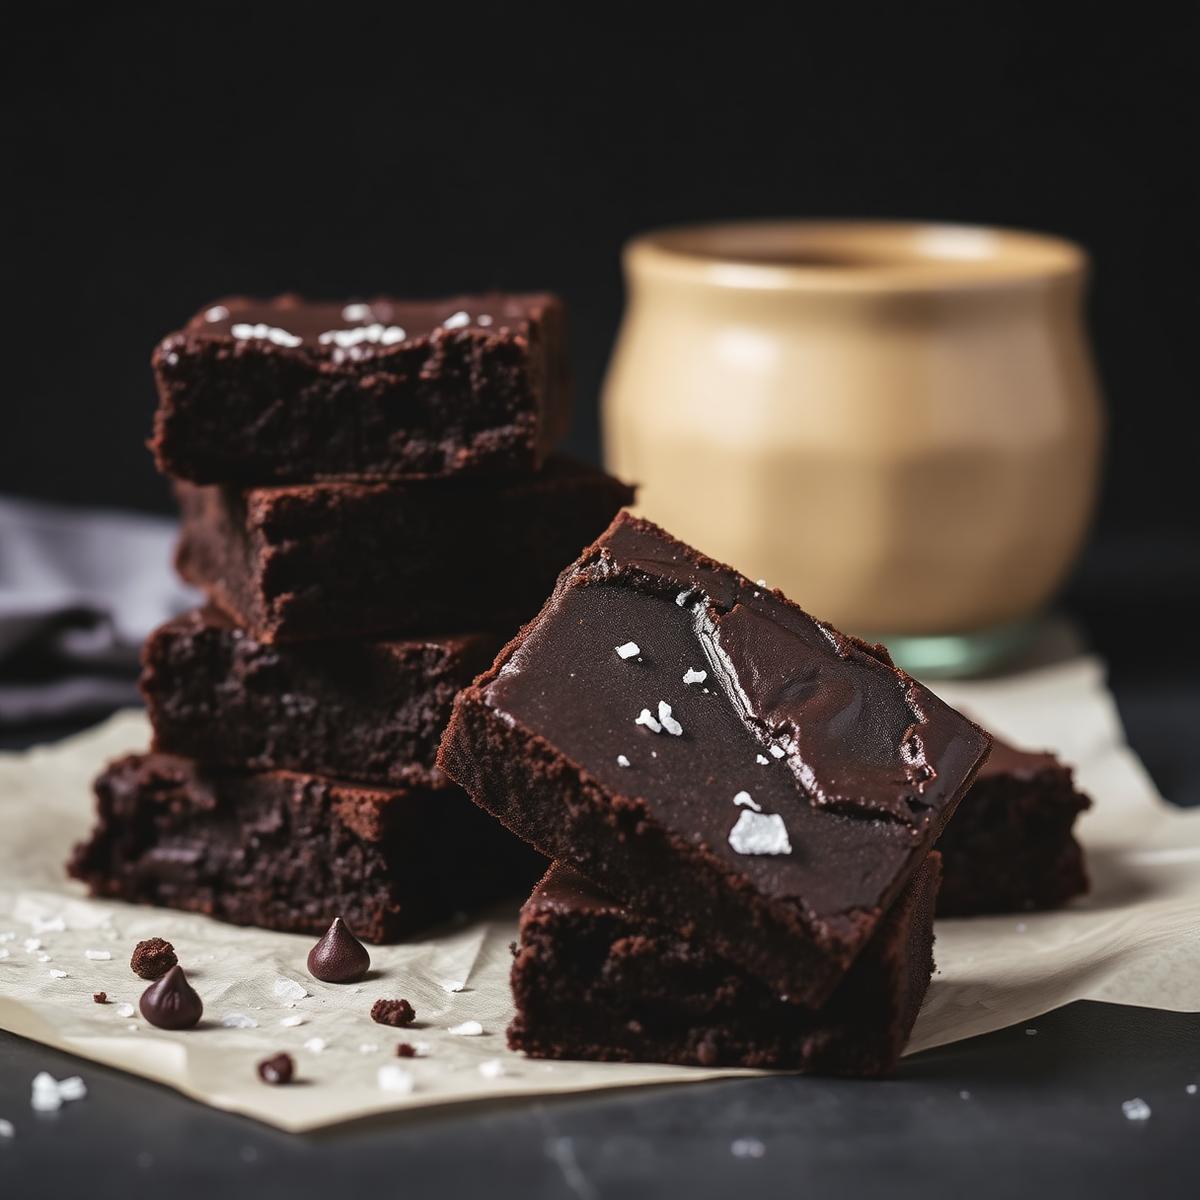
Fudgy Almond-Flour Chocolate Brownies
The keto brownie recipe our test kitchen makes on repeat. Rich, fudgy, and deeply chocolatey — with a shiny crackly top and only 2 g net carbs per square. No one will guess they're sugar-free and grain-free.